A Tribute to the First Unfixed Photograph
by Joseph Nicéphore Niépce, 1816
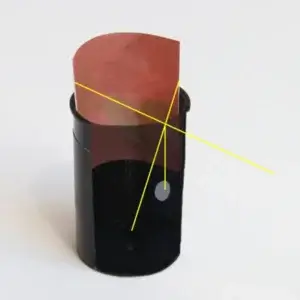
In May 1816, Joseph Nicéphore Niépce attached a piece of paper coated with silver nitrate to the back of a camera obscura – the original version of today’s pinhole camera. He placed the camera at the window of his study and called the experiment “Retina.” After several days of exposure, he removed the paper. Wherever light had struck the surface, the silver nitrate had darkened more intensely. A first negative image had formed: a small, upside-down representation of the outside world. But it was a fleeting image. When the camera was opened, the paper continued to be exposed to light, and the image gradually faded. Niépce was holding the world’s first photograph in his hands – but he had no way to fix it. Time became a tangible medium for him: made visible through light, shaped by impermanence and slowness.
This story stands at the heart of our project. With every pinhole camera manual we provide, participants are invited to relive this foundational moment in photography – but now with the ability to preserve their images permanently.
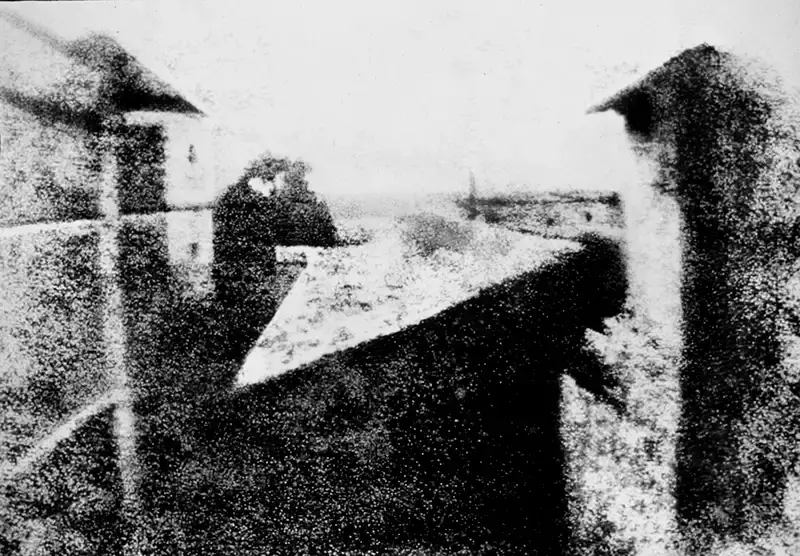
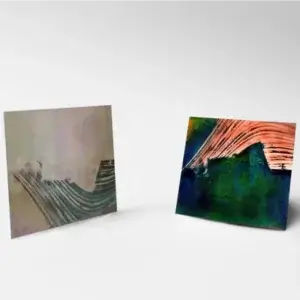
Saint-Loup-de-Varennes from Nicéphore Niépce.
The first photo from 1826.
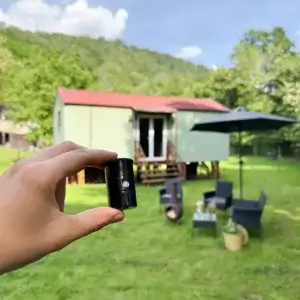
The Pinhole Camera Manual with Historical Context
The 7th Day is a tribute to this very first photographic experiment. With each of our pinhole cameras, we include a detailed pinhole camera manual. Inside, you’ll find a sheet of light-sensitive photographic paper loaded into a camera obscura, along with instructions on how to have your image professionally digitized by us. Just like Niépce in 1816, you decide what the photograph will capture. But unlike back then, you now have the ability to preserve and share your image permanently.